How to Start a Home Compost Bin
Starting a home compost bin is a practical way to reduce kitchen waste and create nutrient-rich soil for your garden. This guide covers the basics so you can set up a working compost system quickly and with confidence.
Why start a home compost bin
Composting reduces landfill waste and returns organic material to the soil. It improves soil structure, increases water retention, and feeds plants with natural nutrients.

Food scraps and yard waste make up about 30% of household trash. Composting can cut that amount dramatically and lower your household’s carbon footprint.
Choose the Right Bin for Your Home Compost Bin
The first step is to select a bin that fits your space and needs. Options include tumblers, stationary bins, and homemade wooden or wire bins.
Consider these factors when choosing a bin:
- Available space (balcony, yard, garage)
- Volume of kitchen and yard waste
- Budget and maintenance effort
- Pest control and odor considerations
Bin types and their pros and cons
Tumbler bins rotate to mix material and speed up decomposition. They are cleaner but usually cost more.
Stationary bins or DIY piles are cheaper and can handle more volume, but they need more manual turning and management.
What to Put in Your Home Compost Bin
Successful composting depends on a good balance of carbon-rich “browns” and nitrogen-rich “greens.” Browns provide structure and slow decay, while greens add nutrients and moisture.
- Greens: fruit and vegetable scraps, coffee grounds, fresh grass clippings
- Browns: dry leaves, shredded paper, small branches, cardboard
- Avoid: meat, dairy, oily foods, diseased plants, and pet waste
Tip: Aim for roughly 2–3 parts browns to 1 part greens by volume. Chop or shred large items to speed decomposition.
How to Start a Home Compost Bin: Step-by-Step
Follow these practical steps to get your compost bin working efficiently from day one.
- Place the bin on soil or a well-drained area to allow worms and microbes access.
- Start with a 4–6 inch layer of coarse browns such as small branches to aid air flow.
- Add alternating layers of greens and browns to build the pile.
- Keep the pile moist like a wrung-out sponge — not soaking wet.
- Turn or mix the pile every 1–2 weeks to add oxygen and speed composting.
Monitoring progress
Temperature is a good indicator: a healthy pile will heat to 120–160°F (50–70°C) in the center. When temperatures fall, continue turning and adding material.
Maintenance and Troubleshooting Your Home Compost Bin
Regular checks and small adjustments prevent common problems like odor, pests, or slow decomposition.
Common issues and fixes
- Bad smell: Usually from excess moisture or too many greens. Add dry browns and turn the pile to add air.
- Pests: Avoid putting meat or oily foods in the bin. Use a sealed tumbler or cover fresh scraps with a layer of browns.
- Slow decomposition: Chop materials smaller, increase turning frequency, and check moisture and carbon:nitrogen balance.
- Too dry: Add water in small amounts and mix, or include more greens.
Keep a simple tool set nearby: a pitchfork or compost aerator, garden gloves, and a small shovel make maintenance easier.
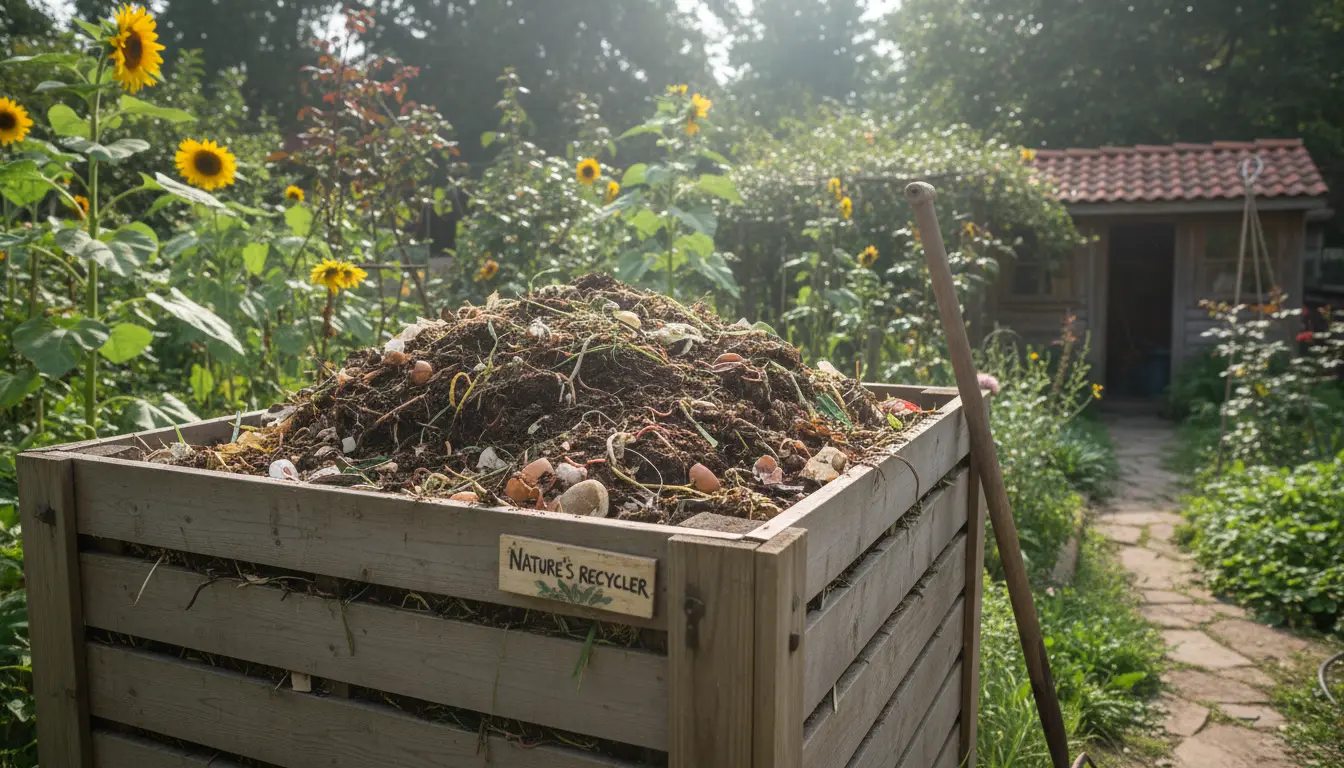
Harvesting Compost from Your Home Compost Bin
Finished compost is dark, crumbly, and earthy-smelling. The time to finish varies from a few months to a year depending on method and conditions.
Use finished compost to topdress lawns, mix into garden beds, or as potting mix component. Apply a 1–2 inch layer to soil and work it in lightly.
Small Real-World Case Study
Case Study: The Rivera Family started a 55-gallon tumbler in their suburban backyard. They began with two parts dry leaves to one part kitchen scraps and turned the tumbler twice a week.
Within four months they had rich compost to add to raised vegetable beds. They reduced their trash output by nearly half and noted improved tomato yields the following season.
Practical Tips and Examples
- Example mix: 10 liters of shredded leaves + 5 liters of kitchen scraps + handful of garden soil.
- Small-space option: Use a worm bin (vermicompost) for apartments; it handles most kitchen scraps and produces liquid fertilizer and castings.
- Seasonal tip: In winter, insulate your bin with straw or move it to a sheltered spot to maintain microbial activity.
Final checklist to start today
- Choose a bin that fits your space.
- Collect greens and browns separately to make mixing easy.
- Start with a coarse base layer and maintain moisture and airflow.
- Turn regularly and monitor smells and temperature.
Starting a home compost bin is low-cost and high-impact. With a little attention you can turn kitchen and yard waste into a valuable resource for your garden.